Come carve a ring with me at Kreadoe!Come carve a ring with me at Kreadoe!
Get started with red mold-a-wax
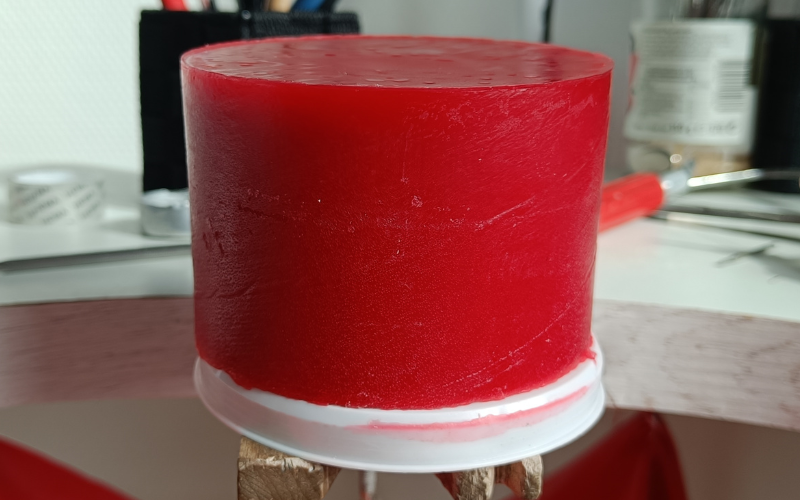
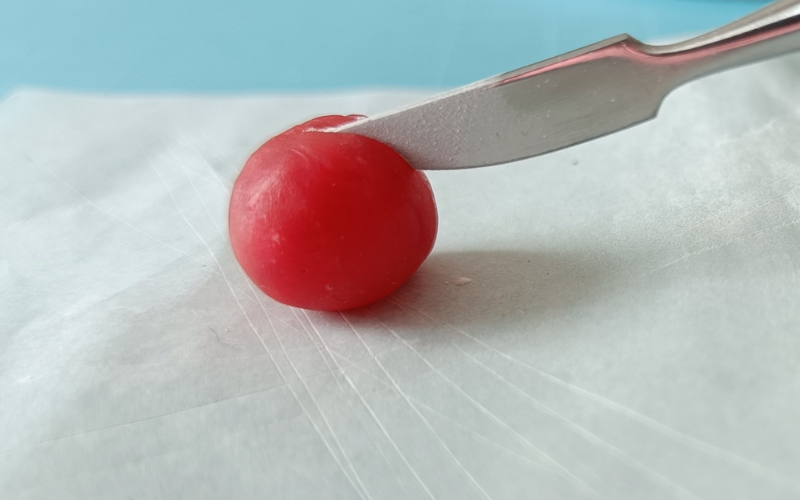
Red mold-a-wax looks pretty intimidating when you get it out of its big tub. It feels like a big chunk of solid wax. But when you remove a small bit from the edge you realize how easy it is to shape small portions of it!
Soft
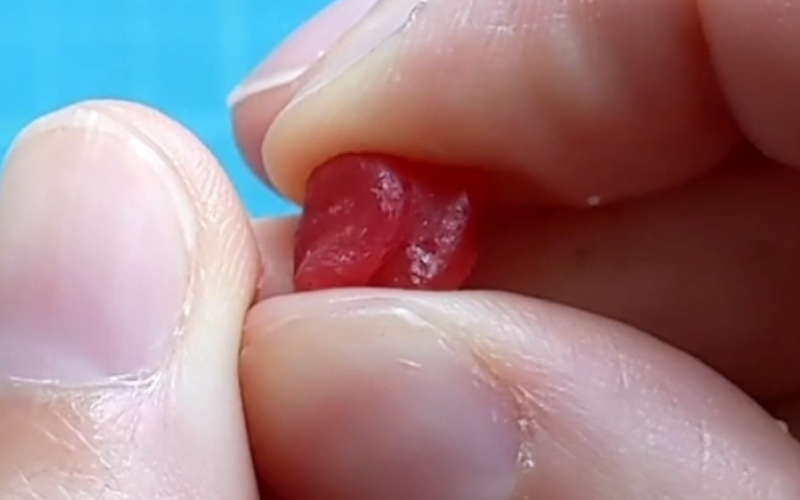
Mold-a-wax is a very soft wax. It’s the best part about it because you can easily shape it with just your fingers. It’s also the worst part about it because you can easily misshape it!
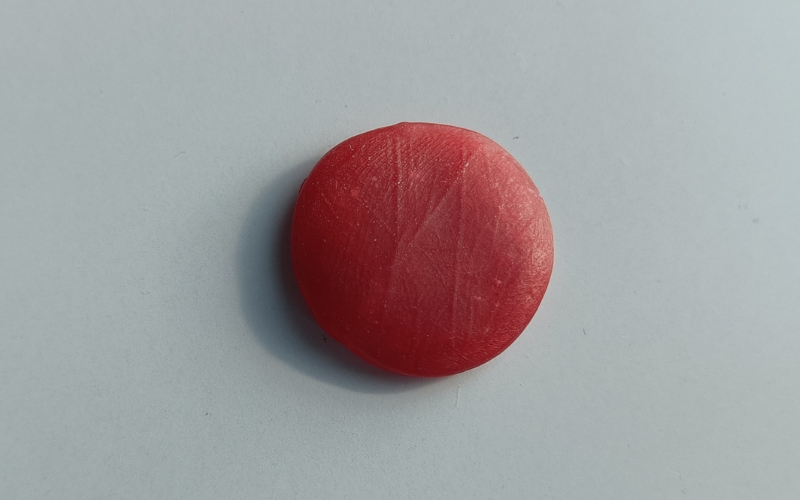
To get a feel for it, push a finger on a small bit of wax and try to get a fingerprint of yourself.
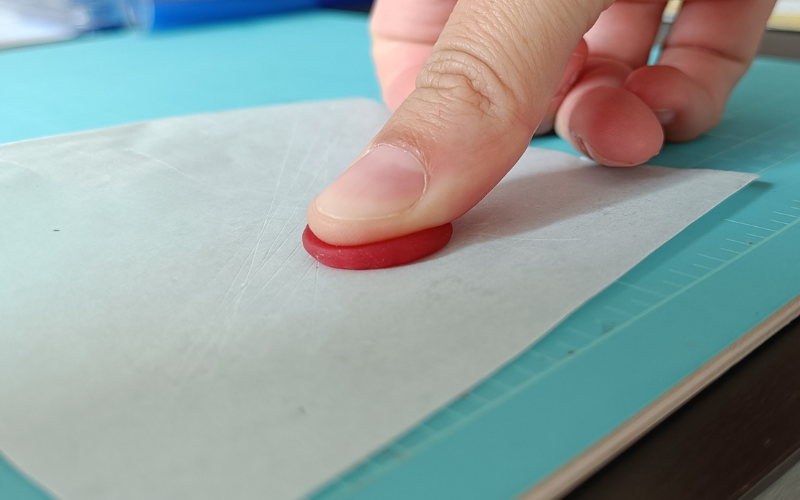
See how easy that was? It’s actually difficult to not accidentally include your fingerprints if you shape a piece with your fingers!
It doesn't feel super safe to put an image of my fingerprint online, so here is a palm print!
No need to use strength and force, you want to be gentle with this wax. The smallest touch can change the shape of a piece, it's really that soft.
Sticky
Mold-a-wax is very sticky. It sticks to your tools, your hands, and your work surface. It helps to work on paper. This way you can create your piece and when you’re done you can peel the paper back and away from it.
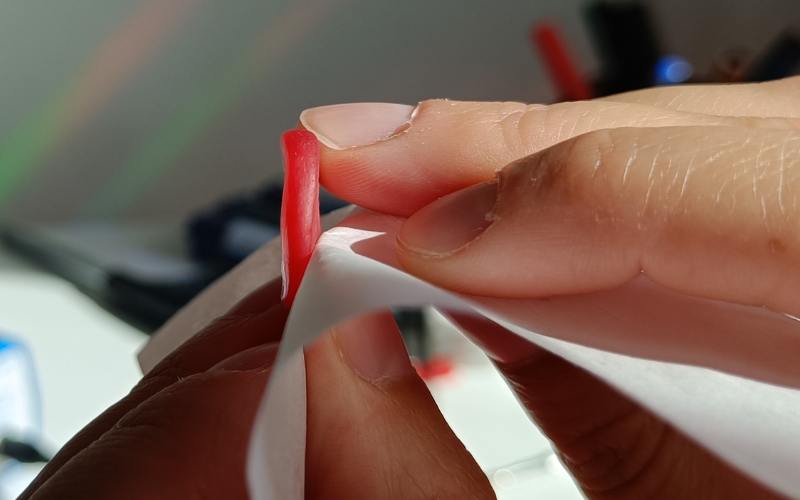
Your piece stays mostly intact this way. A little smoothening of the back might be needed, but your piece won’t get bend out of shape trying to pull it from your table.
A bit of talcum powder also helps. Coat your tools and work surface with talcum powder and the wax doesn't stick as much to them.
The wax still sticks, just less so.
Form
The wax is kind of like clay in the sense that you can sculpt it into any form you want with just your hands.
The wax is shapeless. Other soft waxes like sheet and wire have a definite shape. That shape limits the way you can move those waxes. Mold-a-wax has no shape so there’s no limit in how it can be moved. It’s a bit intimidating!
Just take a bit of wax and form it in the shape you want. Start with big shapes to get a feel for the wax.
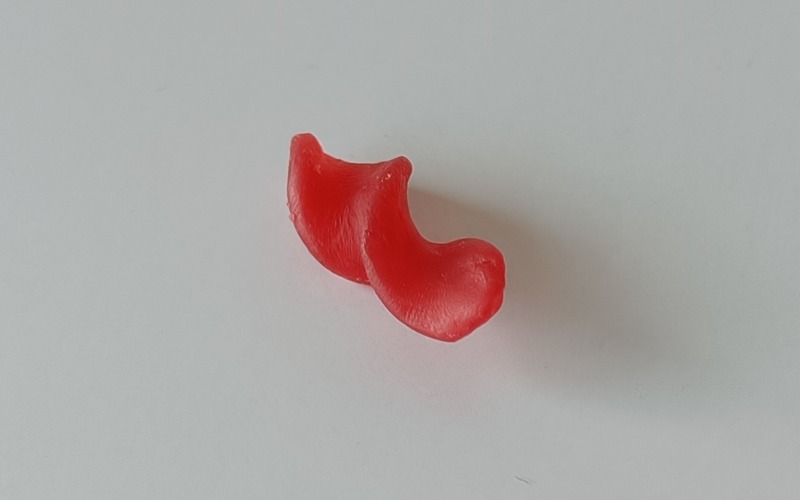
Once you understand what’s possible, there’s no stopping you. Form those jewellery pieces!
Melting
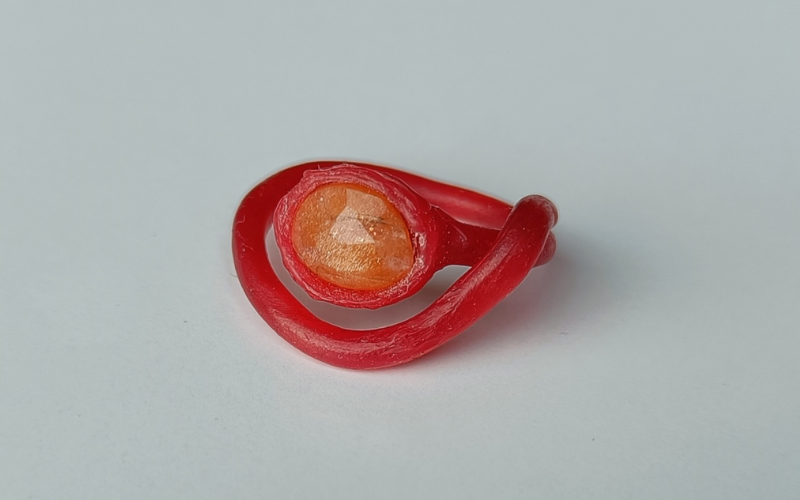
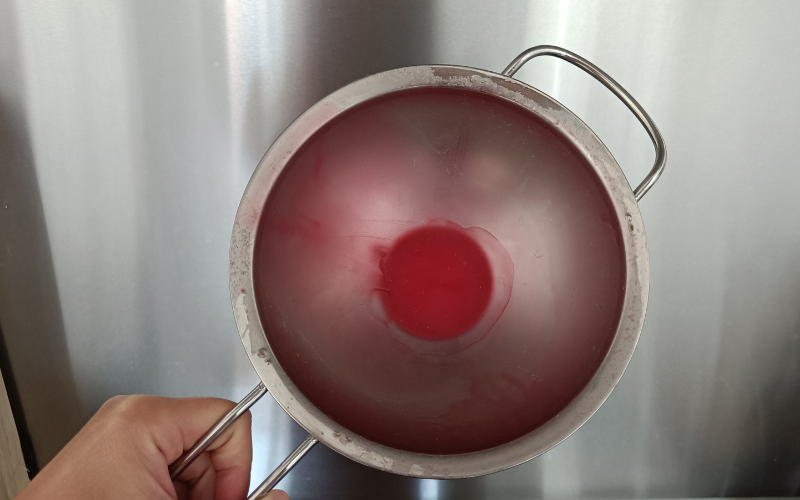
This wax has a very low melting point. You can stick it in a pan and melt it on your stove!
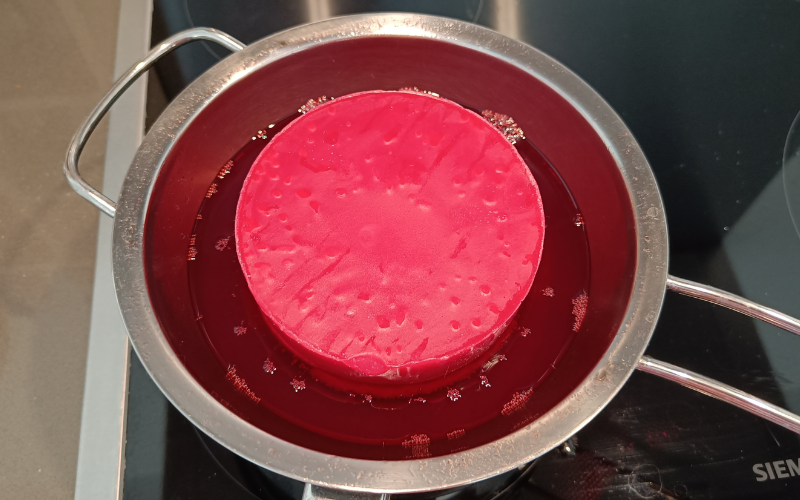
Once it’s melted you can pour the wax into a mold.
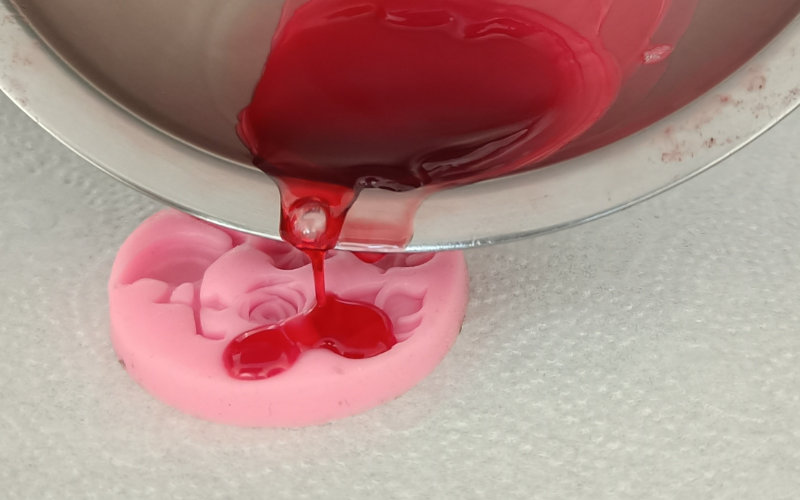
Silicone molds for polymer clay are good for this. There’s loads of molds with different shapes available! Clean up the shapes and use them as embellishments or turn them into pieces of their own!

You can also use the melted wax to dip organic material into. It’s possible to cast most organic material, but some of it is too thin or flexible on its own. By dipping it in the liquid wax you make it thicker and sturdier!
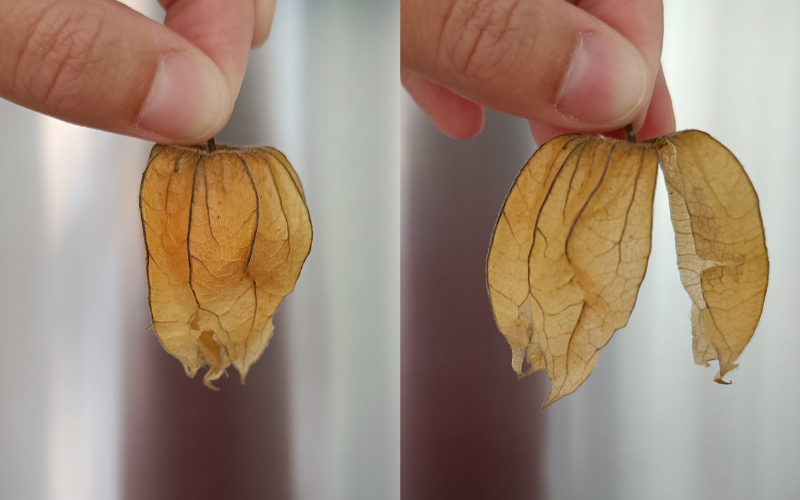
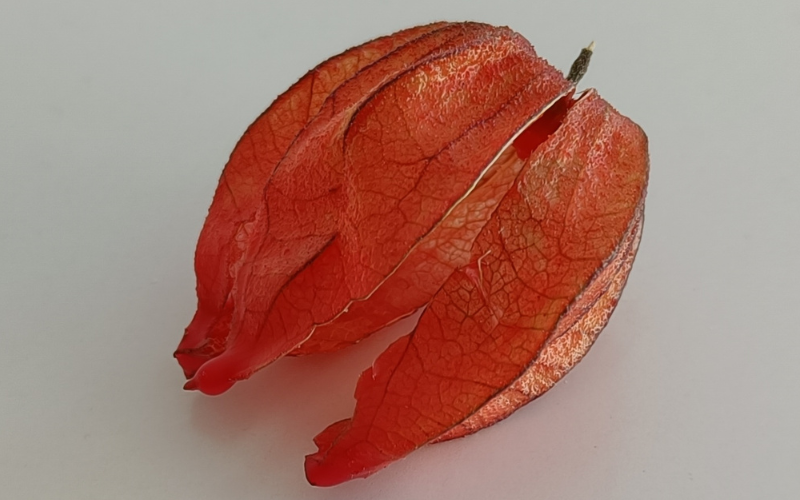
This is a physalis. The leaves create a cool shape, but it’s very thin and flexible.
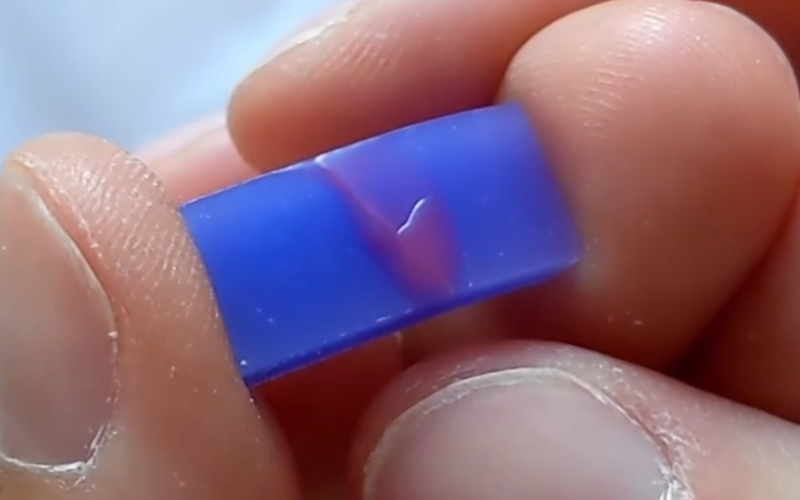
First I eat the fruit ;) and then dip the leaves in wax.
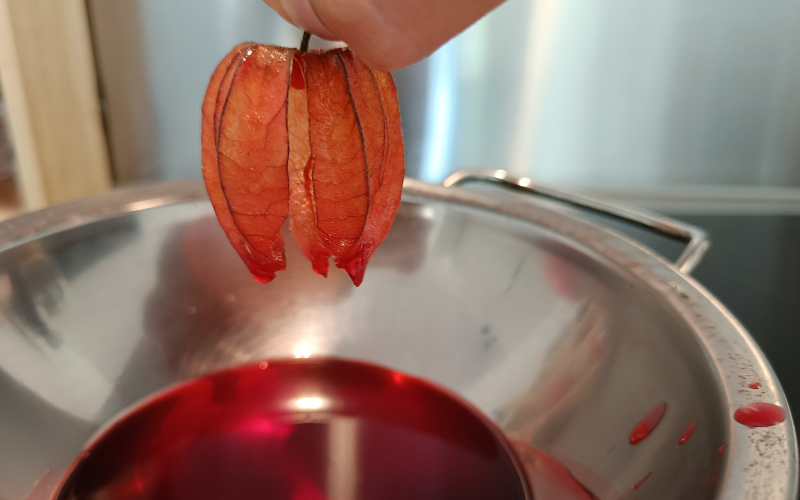
The leaves are now thicker and set, I can no longer bend them in whatever direction I want. The physalis kept its shape with ridges and curves, the wax picked up a nice surface texture, and it still looks cool! This one is still pretty thin so another layer of wax would be good.
You should check with your caster if they cast organic material, not everyone does. And you should always let them know if there’s organic material inside. Organic material has a different burn out time than wax, so they need to adjust the machines. There’s a bigger risk of the cast failing with organic material, but if you’re experimentation minded this is a great thing to try with the mold-a-wax!
I do recommend turning an old pan into a dedicated melting pan, it’s a pain to clean all the wax out of it when you’re done. Just leave the residue behind and remelt it the next time you use it.
Fixing
Because of its low melting point the mold-a-wax is great for fixing breakages in hard wax.
You can easily add the wax on the break without melting all the hard wax (with a higher melting point) around it. Especially great in difficult to reach spots and very detailed areas where you want to make sure you don’t accidentally melt something you don’t want to!
Comment below and let me know if these tips were helpful!