Wax carving advent calendars?Wax carving advent calendars?
Making variations
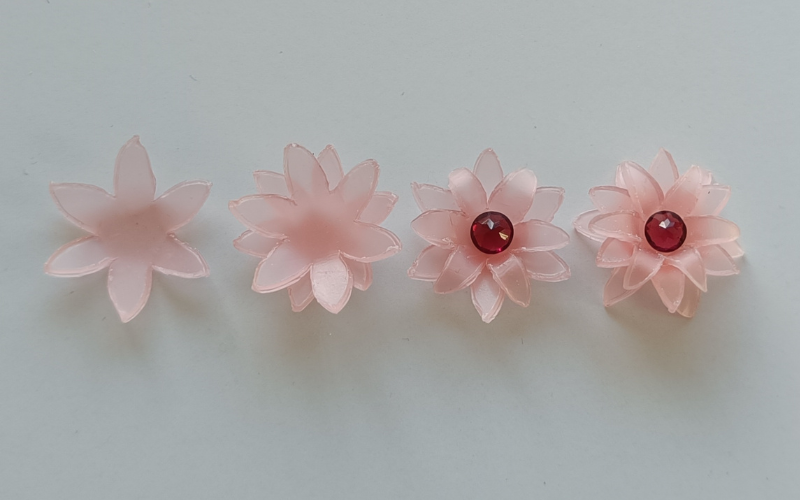
It’s easy to say you want to make a flower pendant. But deciding how the finished piece should look can be difficult. Is it flat? Petals bend up, or down? A combination? What about layers? Cutouts? Texture?
When I’m unsure about an idea and think multiple variations could look good I do a quick making exercise. The goal of this exercise is not to end up with perfect pieces ready for casting. It’s to quickly try out different ways of shaping a piece. Find the pieces I like and remake, find the ones I don’t like and won’t make again.
This is also a good exercise if you want to make loads of similar pieces but not the exact same piece. Making variations of the same starting shape gives you loads of unique pieces that still look like they belong together. Great for one of a kind pendants or a pick and mix earring selection!
The variations exercise has 2 rules:
- All pieces start from the same basic shape
- It’s quick so you don’t have time to overthink something and just continue making pieces and trial out your ideas.
Preparation
The preparation stage is not counted as part of the exercise, but I don’t spend too much time on this part. For this sample I’m going to make flowers. I cut out as many flowers as possible from one sheet of wax.
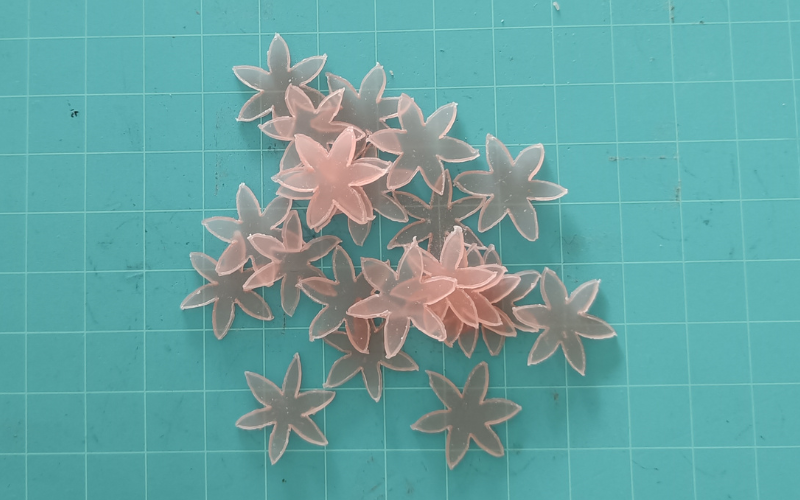
With the basic shapes ready I decide on a time, 30 minutes. Make sure any tools you might want to use are within reach and you’re ready to start!
Folding
Start simple! Just by bending the petals up you can create different shapes already. Change the amount the petals fold up and you get flowers in different stages of opening up and blooming.
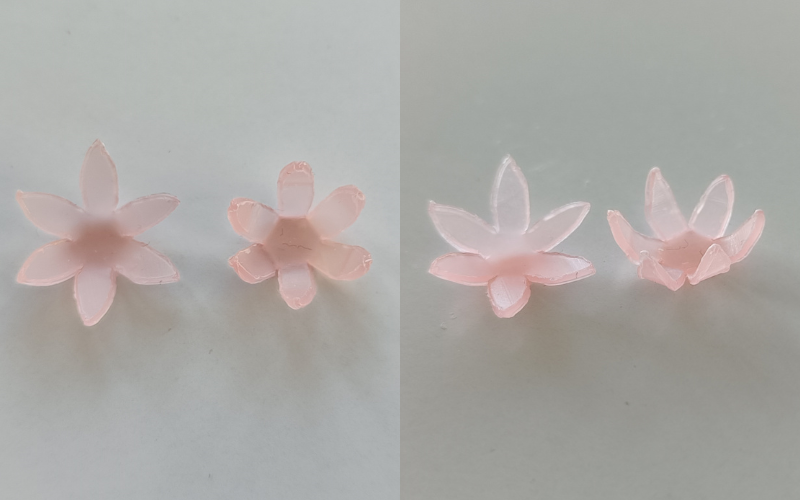
Next add a second fold. Petals go up and the tips fold back.
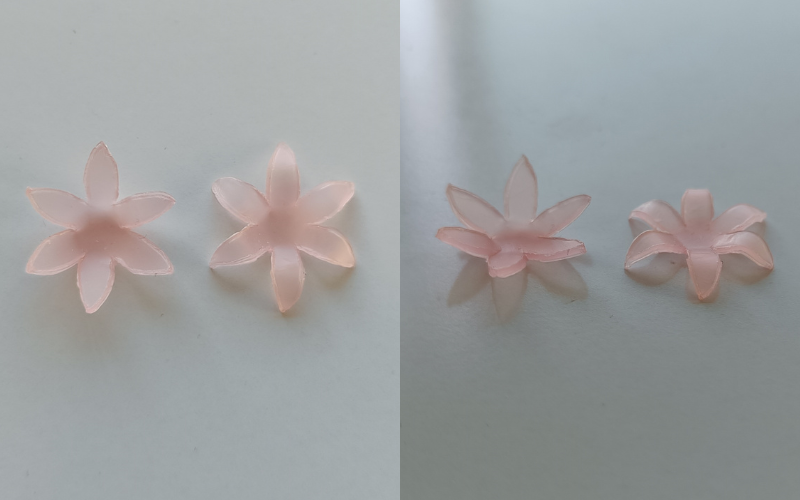
Again try different amounts of bending for the double fold.
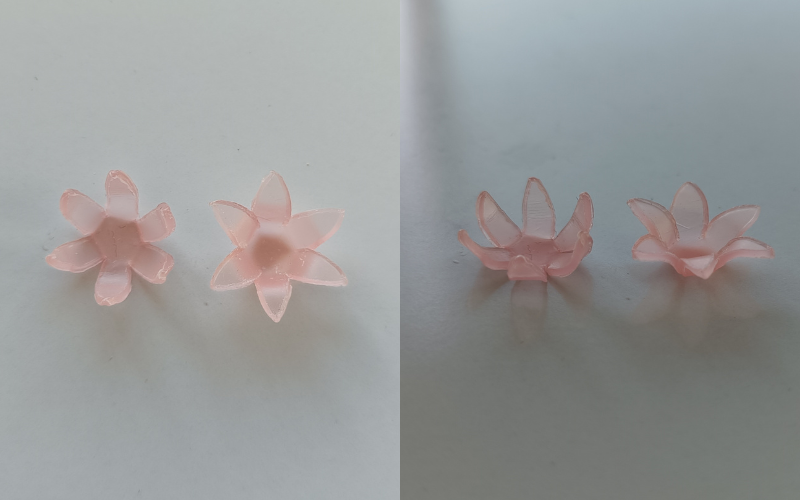
With just 2 simple folds you can create so many different flower shapes already!
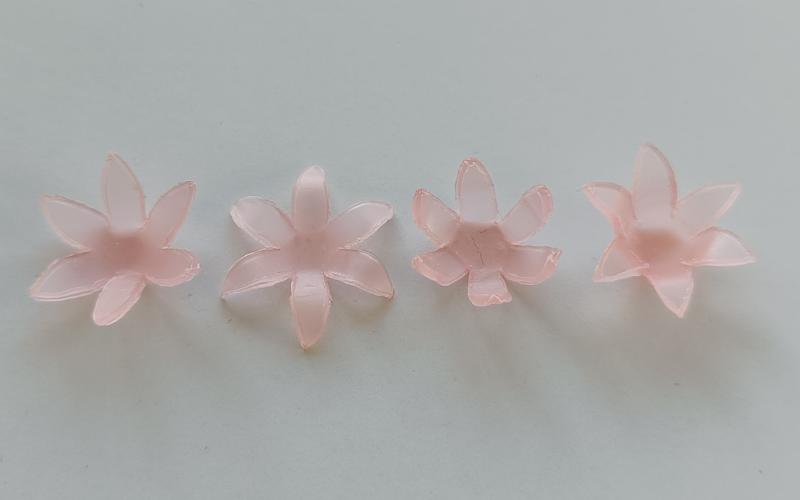
Keep trying different folds and different amounts of bending until you’ve explored all possibilities!
Layering
With the simple shapes done it’s time to add more complexity. Layer your simple folded pieces!
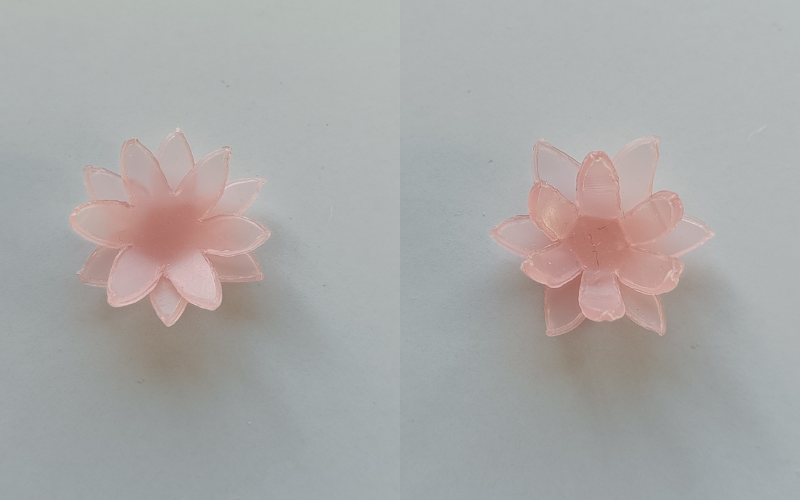
This is my favourite part, the pieces really come to life when you start layering them together.
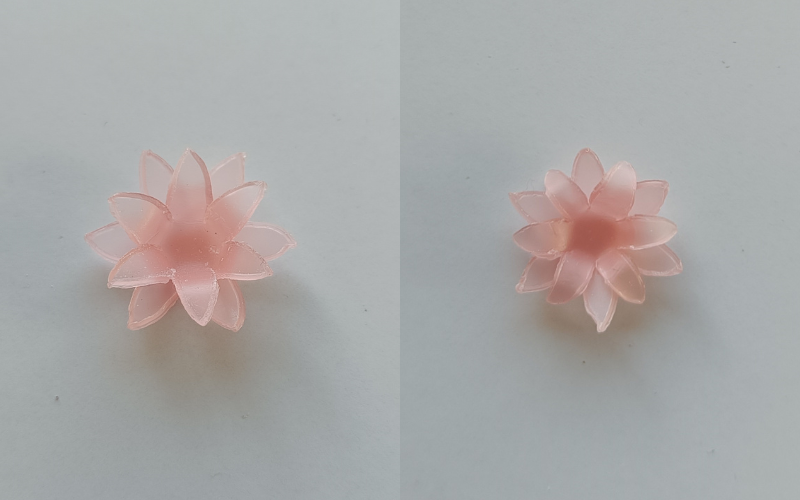
Try all the different combinations to find the ones you like best. Don't forget to triple layer and more!
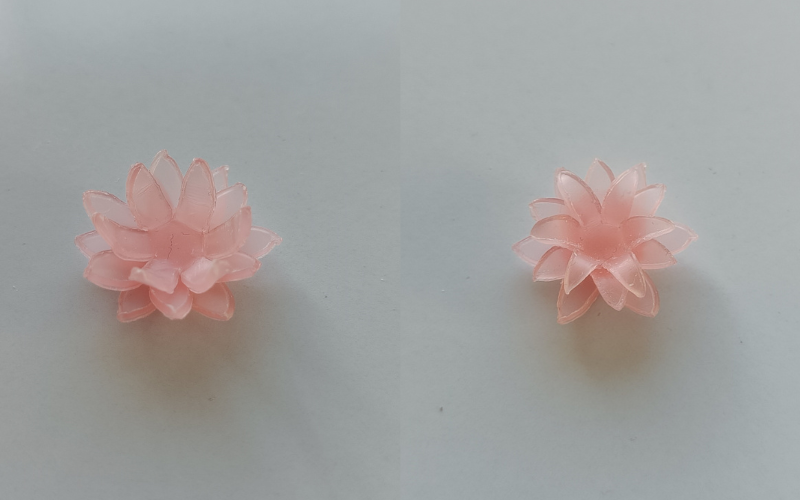
Surface alterations
So far I used the starting shapes as they were. But you can change the surface of the flowers as well. Think of texturing the petals or trying some cutouts.
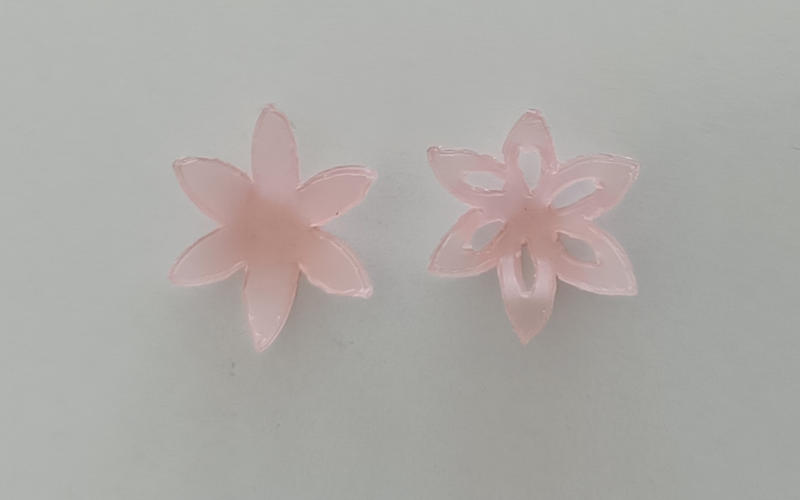
Just adding a few cutouts changes the look of the flowers completely again!
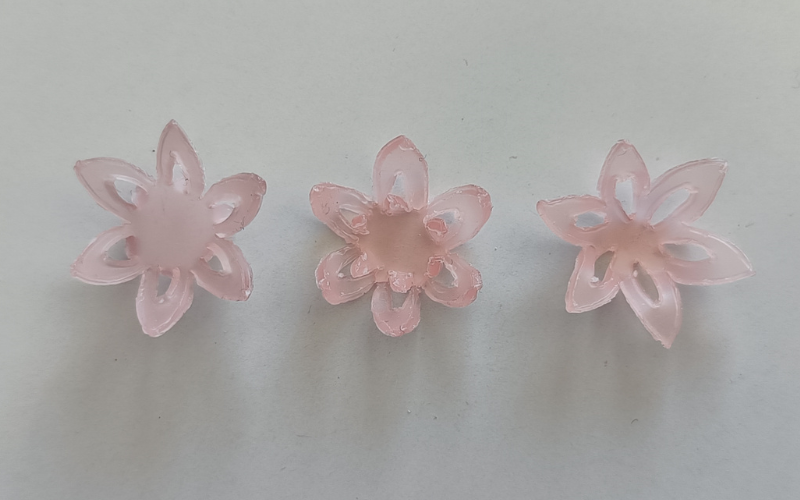
Embellishment
The center of the flower is pretty much begging for some kind of embellishment. You can add texture or some wire stamen, but since these are quick trial pieces I don’t want to spend that much time on details. Placing a faceted stone in the center tells me a setting inside these flower shapes would look great as well!
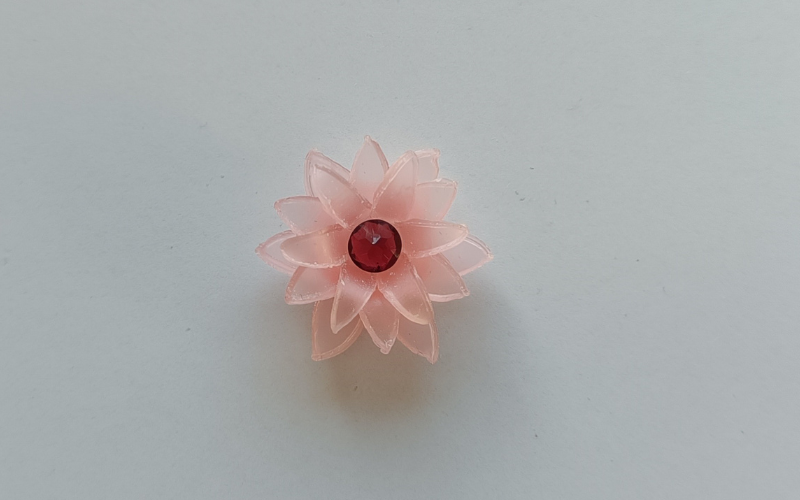
Try out different configurations again with a center embellishment and a cutout layer!
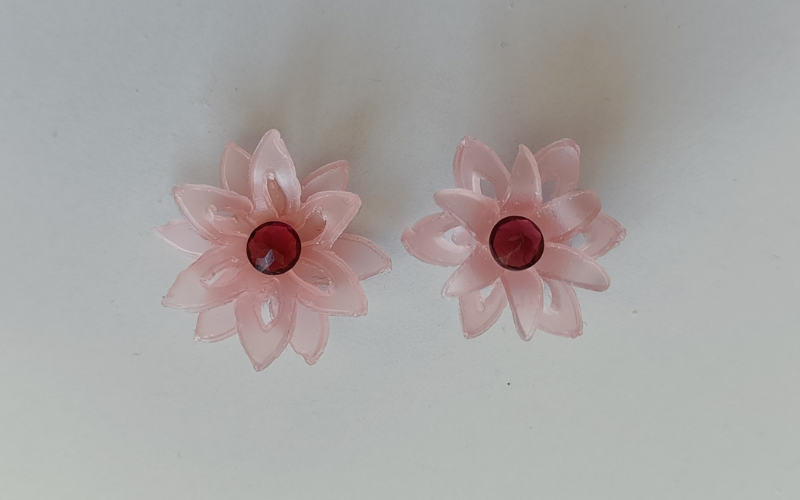
Different shapes
Because the starting starting shape is so specific, I’ve only been making variations of flowers. If you still have some shapes left try to make non flower shapes!
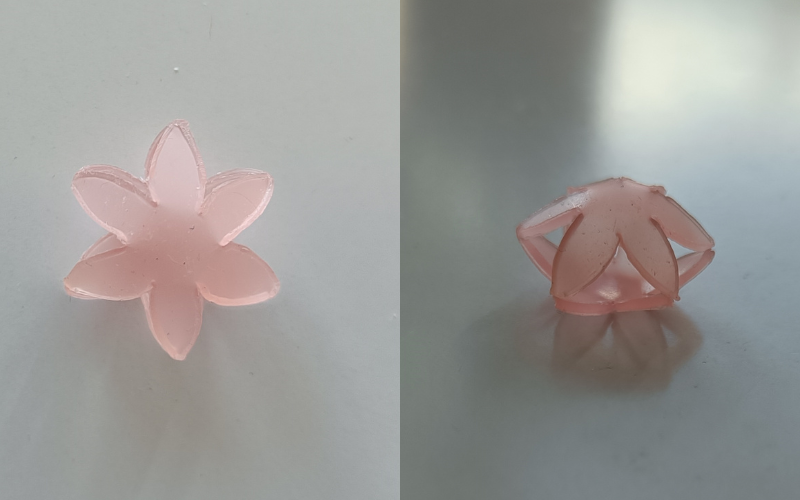
Layering the basic shapes together in unexpected ways can give you even more ideas.
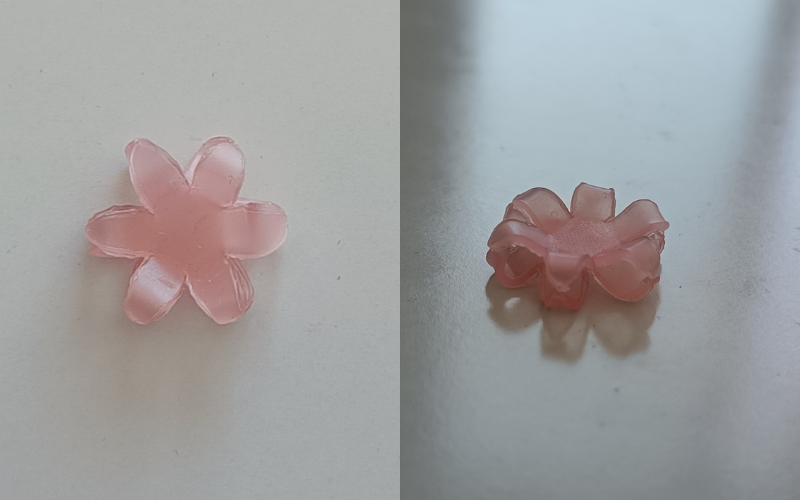
I don’t really like the look of these variations but I think they could work with a different starting shape. New ideas for more bead like pieces are brewing!
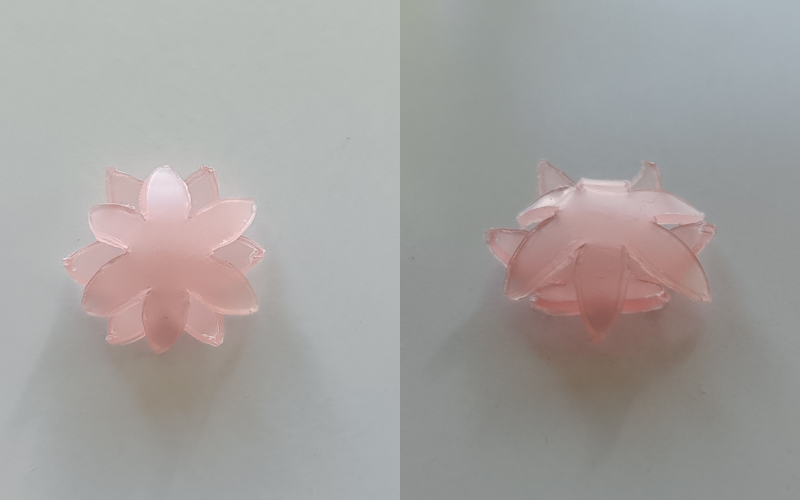
Result
Including preparation time this variation making exercise took less than 45 minutes. I found so many good variations of this flower shape and have some other ideas for completely different pieces.
And this was just one flower shape. I could make all the variations I like from different basic flower shapes and end up with even more variations on a flower theme!
The possibilities of making variations are endless. You can change your basic starting shape to keep this exercise fun and come up with new ideas! For the sake of the blog I used new wax, but when I do this for myself I use scrap pieces of wax.
Comment below and let me know if you’re going to try this out!