Come carve a ring with me at Kreadoe!Come carve a ring with me at Kreadoe!
Make swivel rings
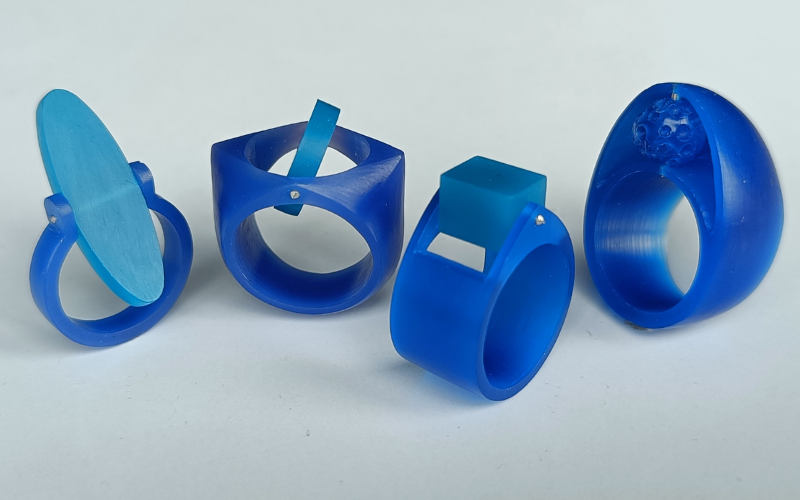
You have some carving experience and want to improve. Learning to carve swivel rings is a perfect way to expand your skills. You learn all about carving different kinds of rings and how to add a center section in your ring that can move.
So, what are some of the skills you learn in this class?
How does it move?
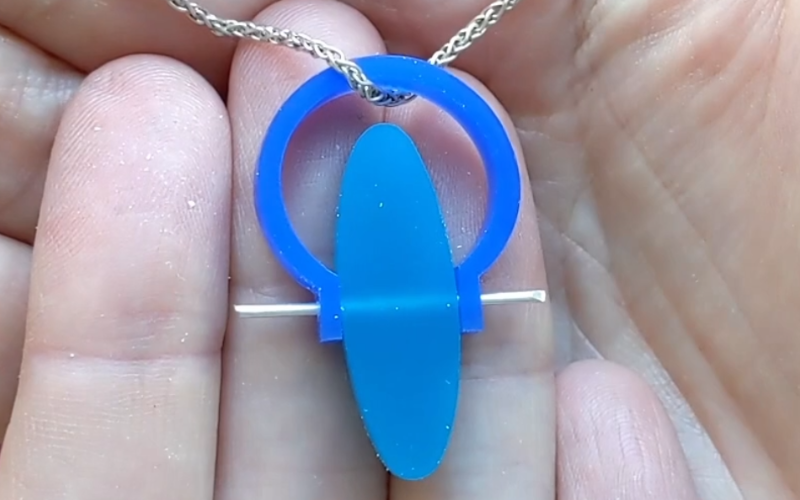
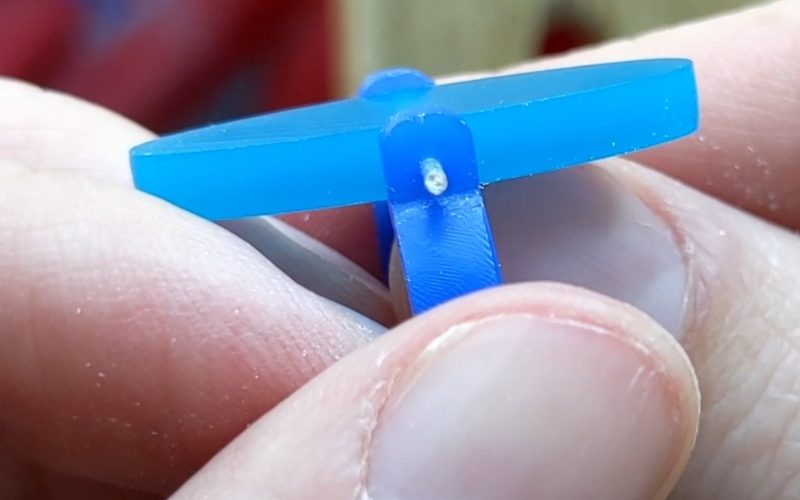
Before you start carving you have a decision to make. How is the center section of your ring going to swivel inside the ring? For the center section to move it needs to be suspended between 2 points.
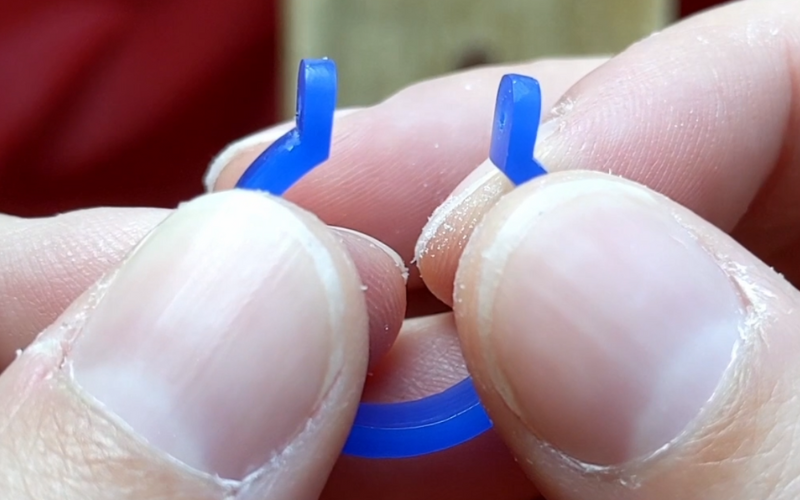
Horizontally is the most common way to make a swivel section, but that doesn’t mean it’s the only way! As long as it has the 2 suspension points your center section can swivel in any direction you want.
The suspension points and how your center section moves between them is the most important part of the ring. Take your time to figure out how it works and how you want it to look! You can make the suspension points obvious and stand out, or you can incorporate them in the overall design of your ring and make them invisible!
Learn different ways of creating the suspension points in this class.
Shape and size
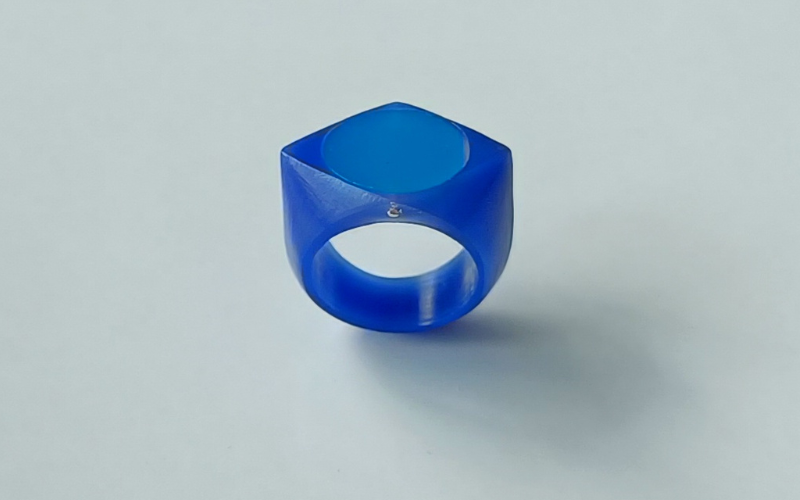
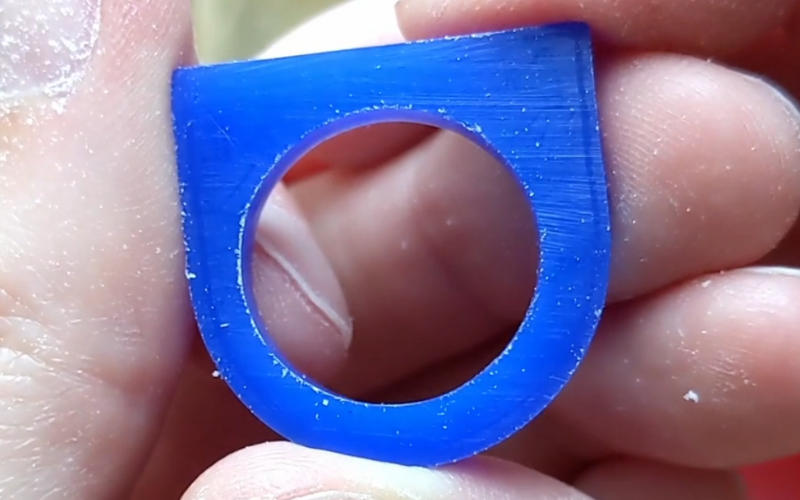
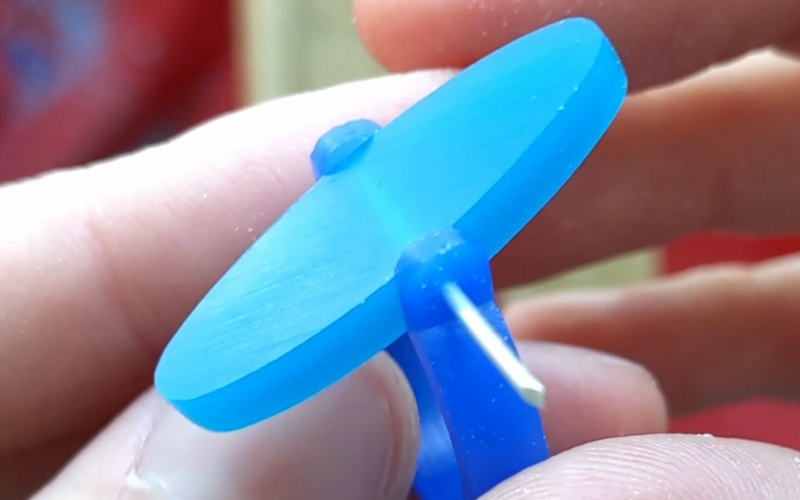
The swivel section can be almost any shape and size you want. The only design restraint is that it needs to fit inside the space you have for it to move.
This works
but more oversized and the oval hits the bottom of the ring and can’t swivel through.
The design of your ring has a big impact on the size and shape of the swivel section. With only a suspension point on either side, you can go big with your swivel. Add a full frame around it and the swivel part can only be as big as the frame allows.
It’s easiest to start with symmetrical shapes. But once you get the hang of it try a ring with an asymmetrical swivel part!
Rings
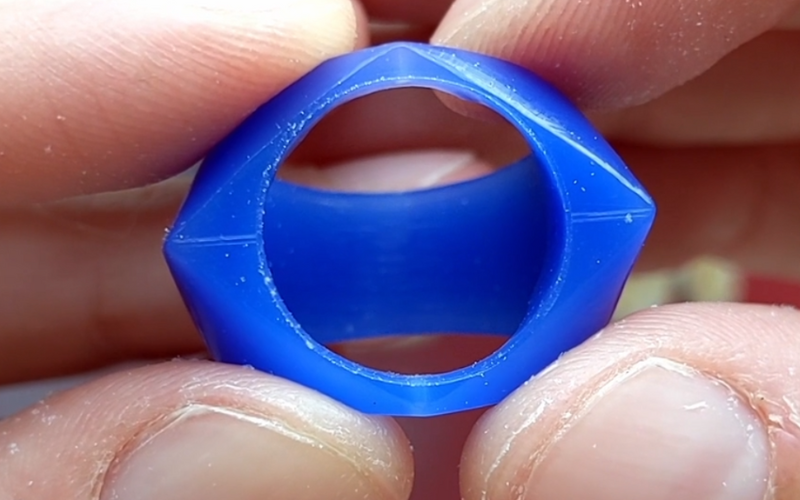
Now that the designing part is done, it’s time to start carving! You make the ring and the swivel part separate. I like to start with the ring because it takes longer.
You pierce the ring tube, file, size, remove the extra wax until your ring blank is ready.
Then you carve the ring in the shape you want it to have. Small, big, signet style, it’s all covered here!
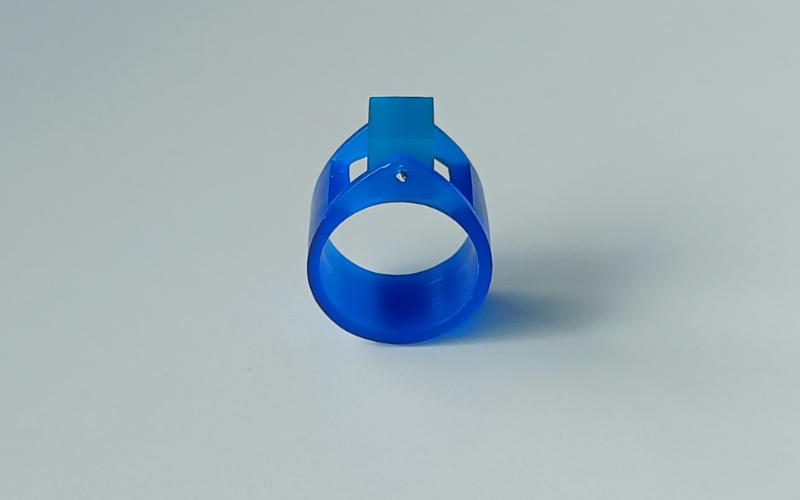
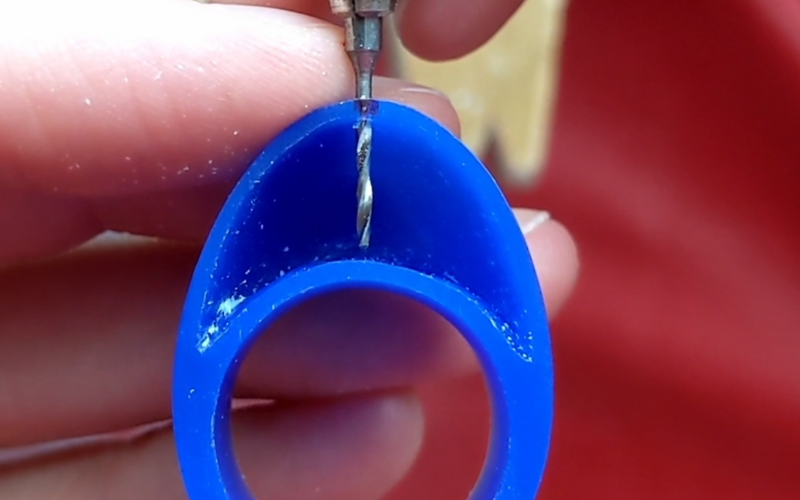
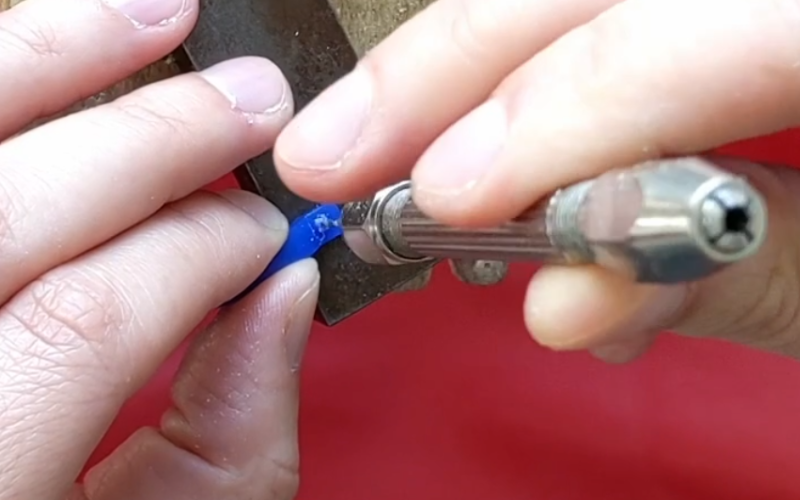
You can get very far with the ring, but at a certain point you need the swivel section to start checking the fit. Mark your shape, pierce, file and your swivel section is ready to start the fitting process.
Fitting together
When you make a piece from multiple parts, the fit is very important. The pieces need to slide together easily, without a lot of friction or gaps.
When one part moves, the fit is even more important. You’re not just checking one fit, you’re checking the fit of all the different angles the swivel section has inside the ring. The fit might be perfect with the swivel section lying flat over the finger
But move the swivel and it gets stuck!
You want to do this part slow. Remove a small amount of wax and check the fit. Remove a little more and check again. The smallest amount of wax can prevent your swivel from moving!
Suspension
As part of your fit check you want to drill all the holes needed to create the swivel mechanism. The actual assembly gets done in metal (if you cast it as one piece your swivel can’t move of course!) but prepare your wax pieces for assembly as much as you can.
It’s the only way to check that your swivel piece moves through your ring easily. Plus it save you time when you assemble the ring later!
In short
You learn how to carve rings and how to add a moving element to them.
Feel inspired to learn all this? You can buy the swivel rings class now!