Wax carving advent calendars?Wax carving advent calendars?
Unconventional tools: kitchen
A lot of things you find in your kitchen can be used as wax carving tools. Some of these can be easily cleaned after and used for its intended purpose again. The wax doesn’t really stick to it, or you use the outside. Other utensils you can protect with baking paper. The wax touches the baking paper and not the utensil.
But some utensils will be impossible to clean after you used them for wax. Unless you just love scrubbing dishes! For those I suggest you use your oldest utensils, the ones you don’t use for cooking anymore but you haven’t thrown away just yet. This is what you were saving them for!
Sharp stuff
Take a look around your kitchen and you probably see a lot of sharp things. Sharp things are perfect wax carving tools!
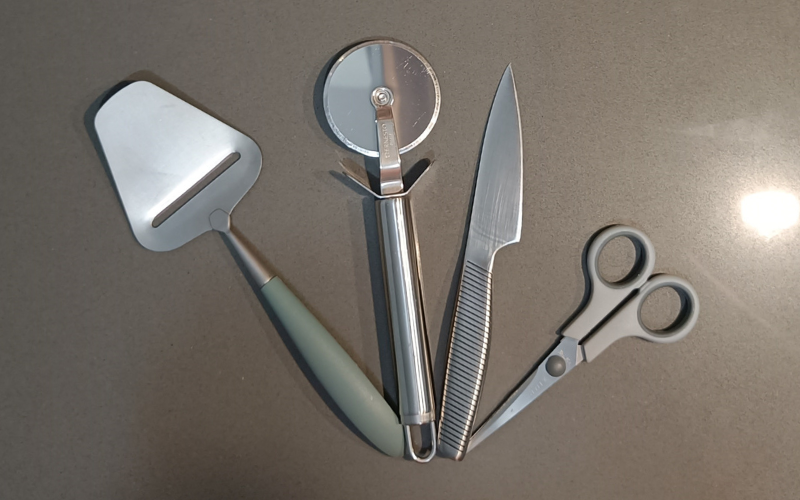
The thin and pointed blade of a sharp knife can be used to remove small bits of hard wax for detailed work. And with the blade of a cheese slicer or potato peeler you can remove long slivers of hard wax from the outside of your pieces.
With a pizza cutter you can cut your sheet wax into strips. And with a toothed dough cutter you can give your strips of sheet wax a decorative edge!
And of course scissors are great to cut sheet wax into any shape you want. Sheet wax is too soft for a saw and with scissors you shape it in seconds!
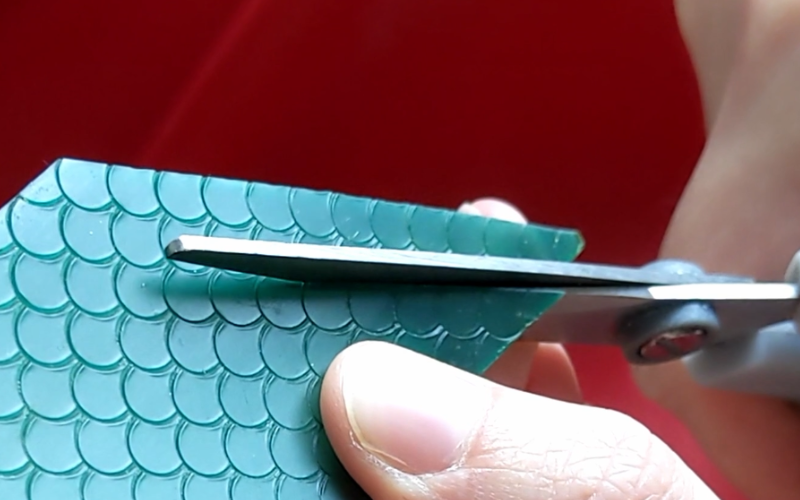
All of these can be washed and used for cooking again. Hard wax doesn’t stick in this form and sheet wax can be cleaned off without too much trouble. Some of these things come in multipacks, take one for your studio and use the others for cooking!
Texture
Take a look at your glasses, mugs, and plates. Are they textured on the outside?
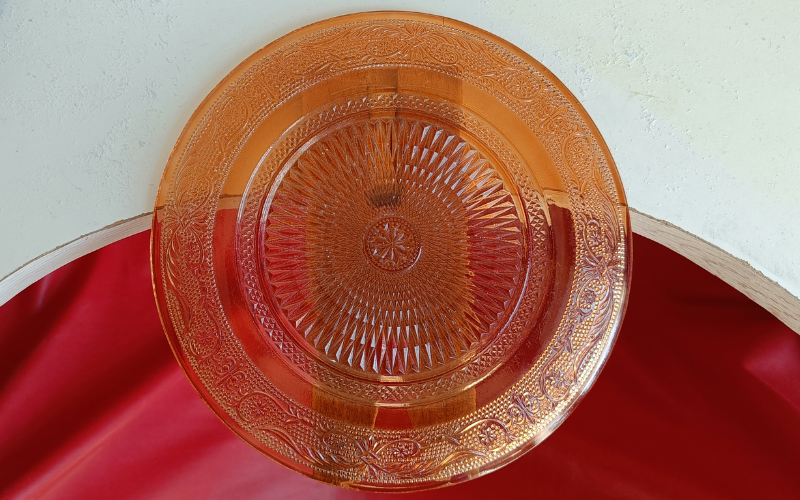
If so they are perfect to texture your sheet wax with. Sheet wax is so soft that if you push it against a hard surface texture it leaves an imprint! Apply a bit of oil on your sheet wax beforehand and it won’t stick to the surface.
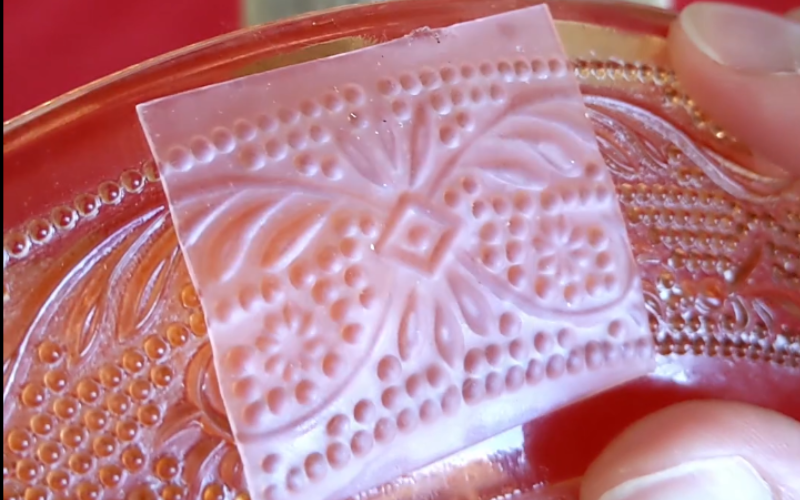
You can also melt a small amount of hard wax and pour it over the surface.
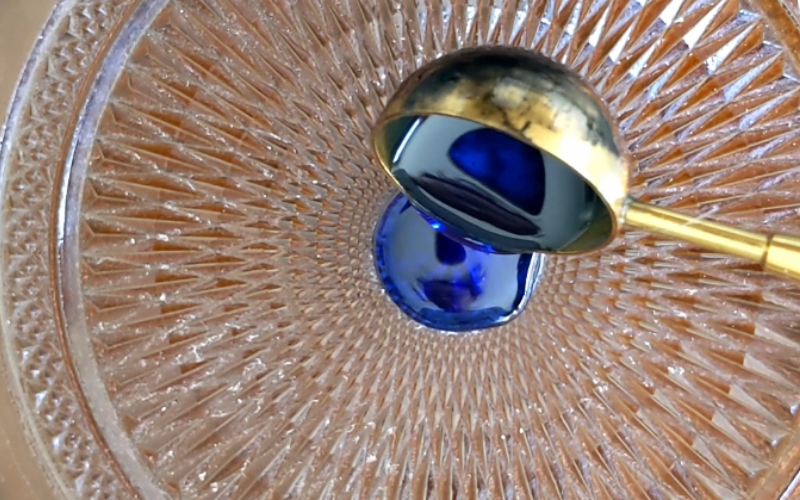
Let it dry and again you have a perfect imprint of the texture on your wax.
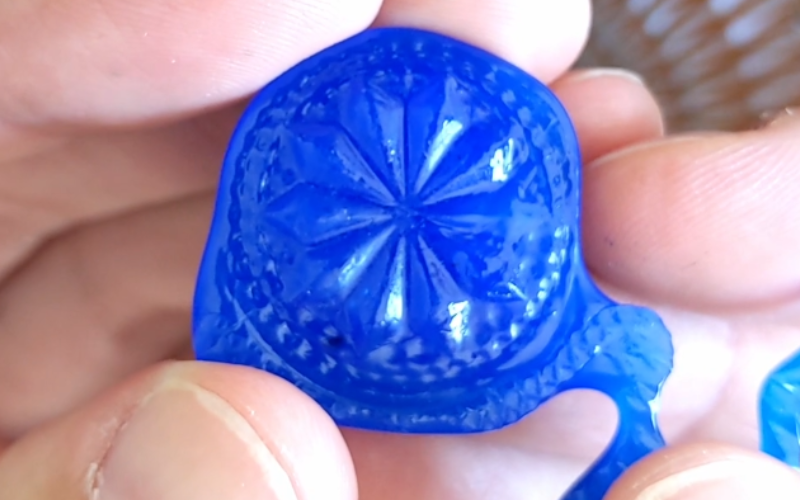
If you should use hard or soft wax for this depends on what you want to do with your texture. I mostly use sheet wax because it’s so much faster and easier!
Since the wax only touches the outside, you can wash your glassware and use it as normal.
Milling
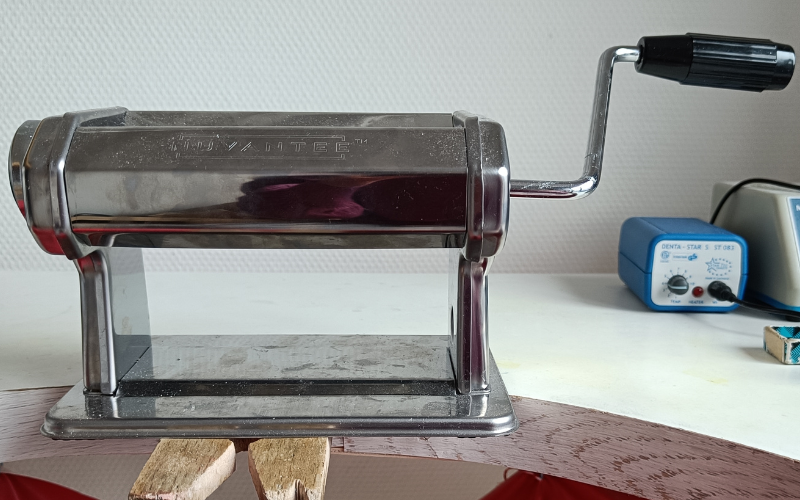
You can texture sheet wax with soft surface textures like fabric, texture paper, and leaves as well. You just need a pasta roller! A pasta roller works the same as a rolling mill, it’s just a budget friendly option if you can’t afford one of those just yet!

Layer baking paper, sheet wax, texture surface, and baking paper and roll it through your pasta roller!
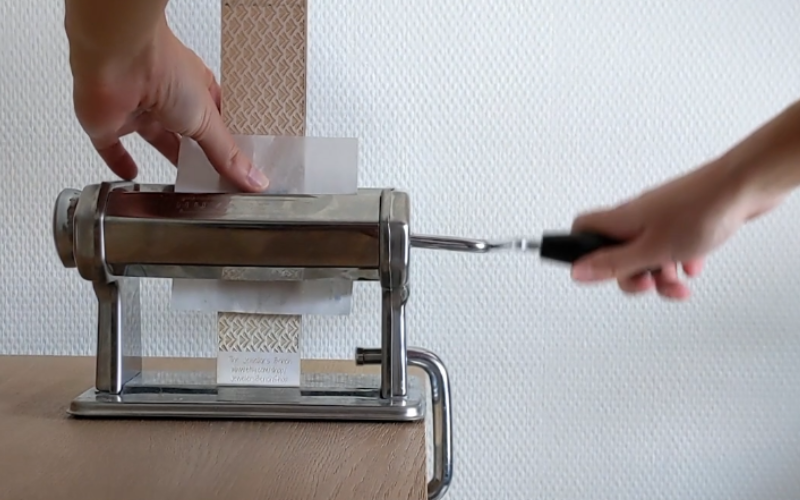
Apply a bit of oil to your sheet beforehand so it doesn’t stick to the texturing surface and you get a great imprint of the texture on your sheet.
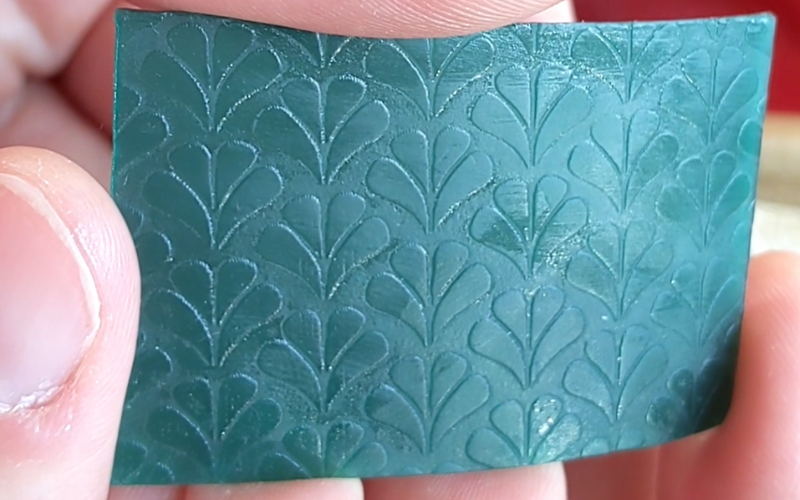
You need to adjust the setting of your pasta roller depending on sheet thickness and texture surface thickness. You can also roll your sheet through the pasta roller without a texturing surface to mill it thinner!
If you don’t have a rolling mill or pasta roller, you can always just use a rolling pin! It takes some experimenting to find the correct amount of pressure you need to put on it.
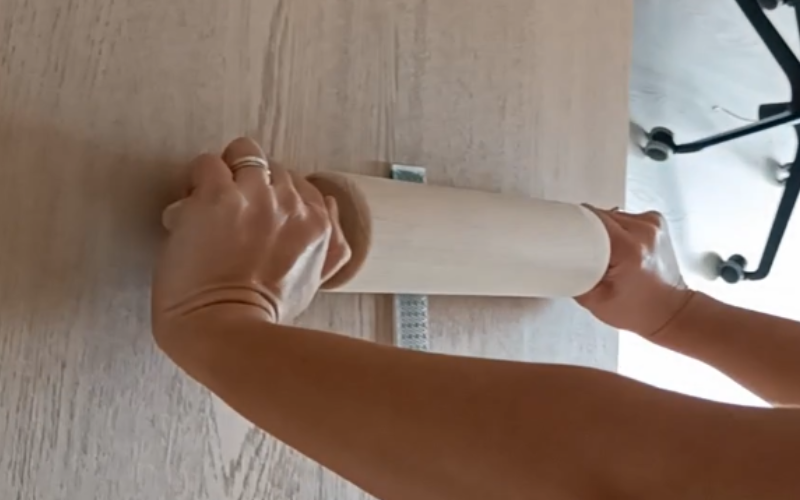
You don’t want to roll away from your body. You want to have the roller underneath yourself so you can use your bodyweight to push down on the rolling pin when you roll. Try different things until you find what works!
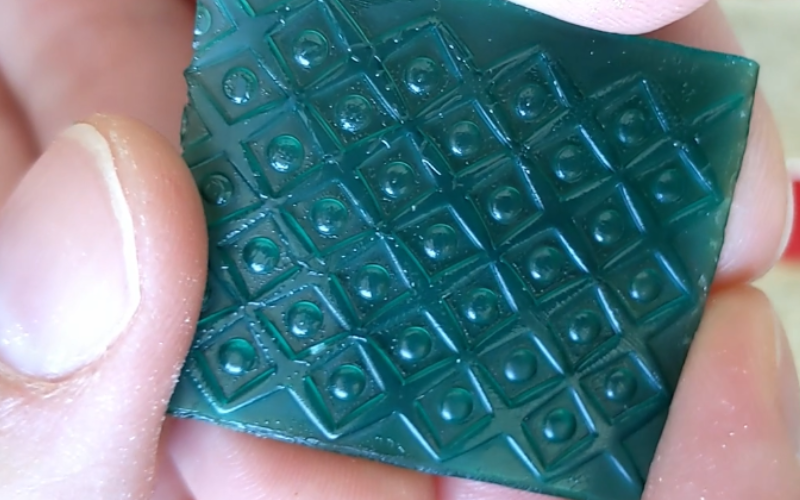
Because I use baking paper as a barrier, the wax never touches the tools and I can wash and use them for their intended purposes.
Hot stuff
When you have a big collection of scrap wax you want to melt it down to reuse it. The softer waxes with a low melting point can be remelted in a pan on your stove! Red mold-a-wax is a perfect example of this.
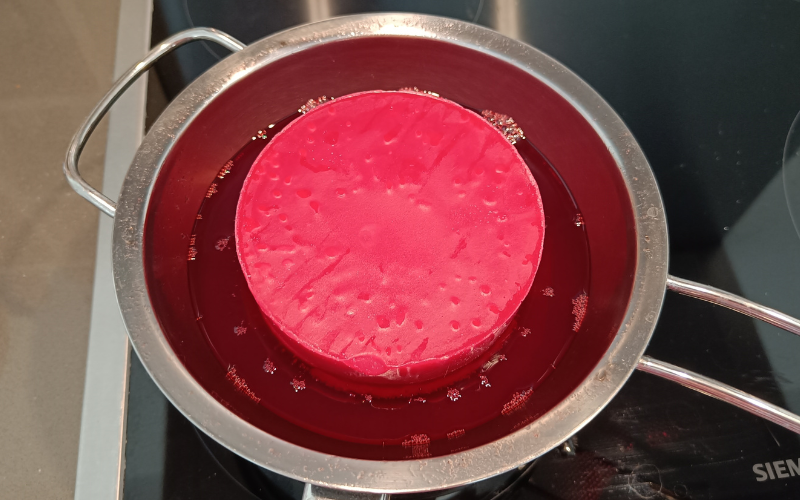
Just throw all your scraps and first attempts in a pan and remelt it. Once it’s liquid you can pour it in a container and let it cool down and harden. The red wax is extremely sticky so I recommend using an old pan for this purpose and use it to only melt red wax with from now on.
For wax with a higher melting point you can stick it in a mold and put it in the oven!
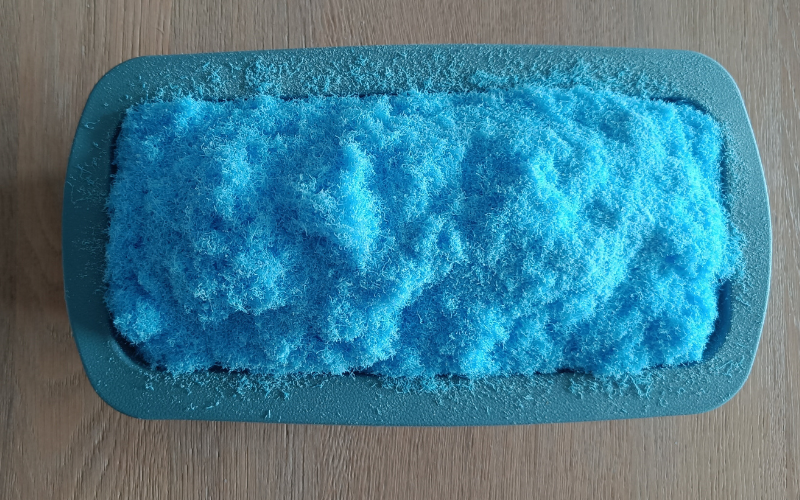
This is going to take a bit of experimentation and trial and error to find the best settings on your oven. I get the best results with heating from the bottom around 225℃ with my very standard combination microwave/oven. It’s not perfect yet, I’m still experimenting to find the perfect setting that removes air bubbles completely. Almost there!
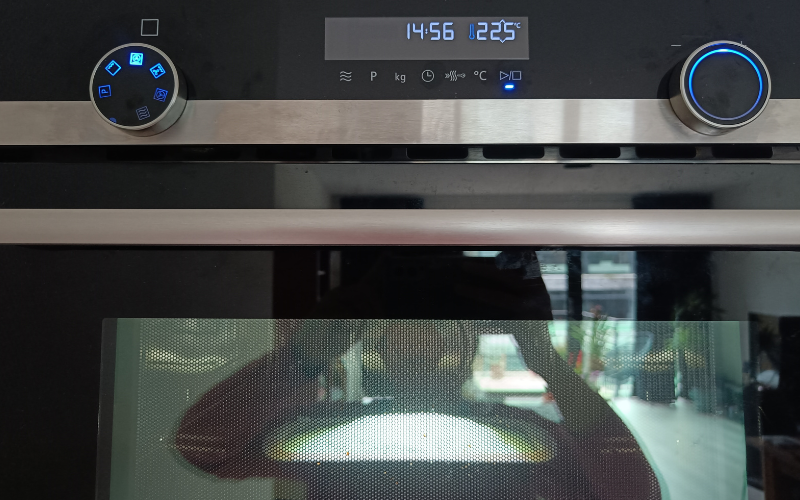
Once everything is melted you need to let it cool down completely. The surface you see cools much faster than the bottom you can’t see, be patient! Once the mold no longer feels warm you can remove your new block of wax.
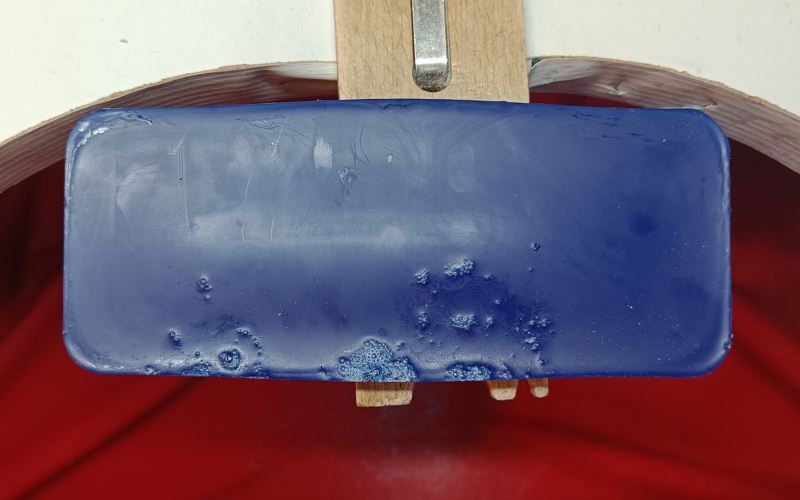
I still get air bubbles, but it’s a lot better already than when I first started experimenting! And as long as the air bubbles are on the surface you can use the block. Cut through the block and check. If there are no holes from air bubbles inside, just remove the top surface with air bubbles and use the rest. If there are air bubbles inside remelt your block and try a different oven setting or temperature. Like I said it takes experimenting to find the best setting on your oven!
The size of the mold depends on the amount of scraps you have. You can use ice cube trays or muffin trays for smaller amounts and cake forms for larger amounts. Make sure these molds can go in the oven!
I use this mold only for melting wax. And I recommend doing longer experiments in the summer when you can open your windows!
Comment below and let me know what other kitchen utensils you use for wax carving!