Wolf gold wax
Did you know there are 2 different kinds of gold wax? Confusing I agree. This is the better-known Wolf gold wax. It’s not sold everywhere. But when you find a supplier that sells it, you can get this wax in pretty much every shape and size.
So what’s it like to work with Wolf gold wax?

For the wax color comparison series, I make some pieces with each wax color. I use all the common tools and techniques and describe how easy/difficult they were. Keep reading along and find the wax that best suits your making style.
Curious about the other colors? Read about green wax, purple wax, turquoise wax, gold wax, blue wax and orange wax.
Piercing
I used a regular saw blade for this. With a wax blade, all colors would end up with the same verdict: quick and easy. Besides, you want to use a regular blade for precision work.
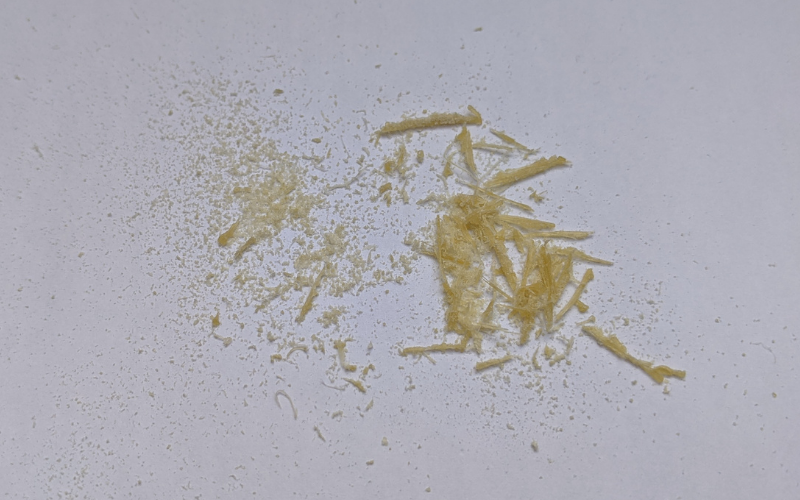
Thick pieces (ring tube etc): piercing is difficult. You can feel that the wax is hard and progress is slow. You only get fine powderlike dust on your first few file strokes. Once you get deeper in the wax, the dust starts to clump together.
Thin pieces: piercing thin pieces is easier, but it’s still slow progress. You can feel the hardness in the wax here as well.
Hand files
Big sections (side of a ring etc): filing is slow, but not really difficult. You can feel some hardness in the wax and you only get super fine powdery dust. Keep filing, you’ll get the perfect flat surface eventually.

Small sections: filing small sections is a lot easier. There’s quick progress and you can’t feel the wax hardness anymore.

The wax dust stays on top of the file without getting in between the teeth. You can easily brush your file clean with just your hand.

Needle files
Needle files work amazingly with Wolf gold wax. It’s so easy to file the wax in whatever shape you want!
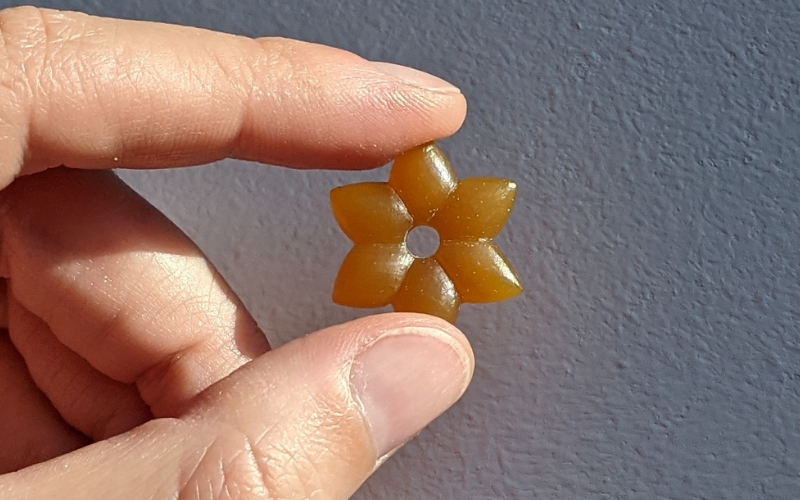
If you slip with your file it does leave a definite mark (even though it’s hard to see on the photo!). It’ll take some additional filing to get it out, so file carefully.

The wax does eventually clog your files. A toothbrush should be enough to remove all the dust from between the teeth of the file.

Carving tools
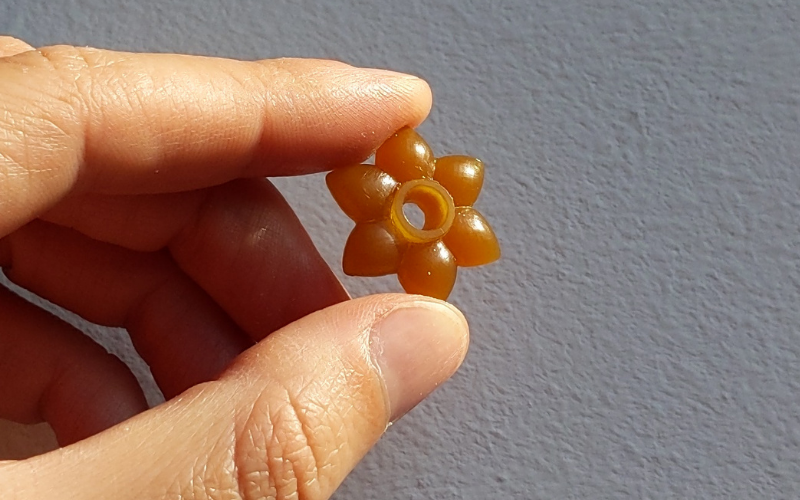
Carving tools work amazingly as well. It’s just so easy to refine the shape of your wax and do any final detailing. It’s even possible to start a carving from scratch with just your carving tools.
Melting
Repairing: melted wax doesn’t easily transfer to a wax pen, it wants to stay in a liquid puddle. When you get some melted wax on your wax pen, it does transfer easily to a new piece.
The wax stays a little bit stringy with all the different temperatures I tried.

But with some patience you can move the wax cleanly without strings.

You can repair broken wax well.

Any added wax over the break can be filed down without a problem.

Remelting scraps: scraps melt quickly and evenly. You end up with a workable piece of wax again.
Burring
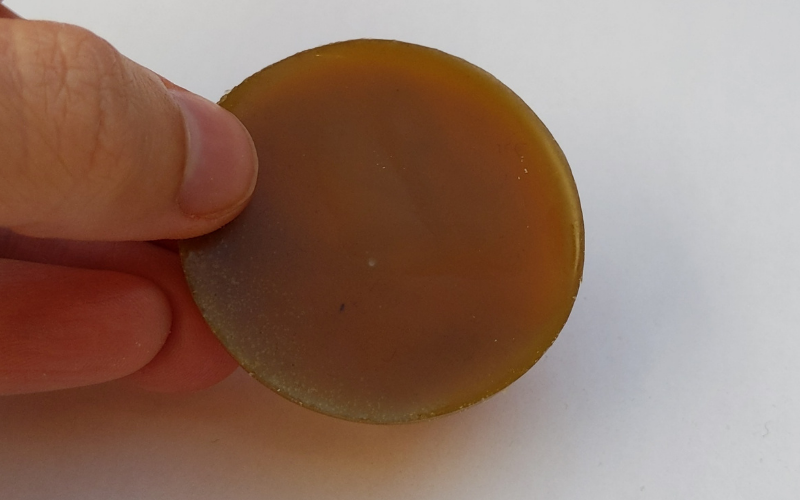
You can burr the wax perfectly. The wax feels a little hard under the burr, which gives you a lot of control over what you remove. It also prevents accidentally digging into the wax. Burring feels really smooth.

Marking
You can mark the wax easily. The lines are clearly visible and you can remove any wax dust that clings to the edges completely with a toothbrush.
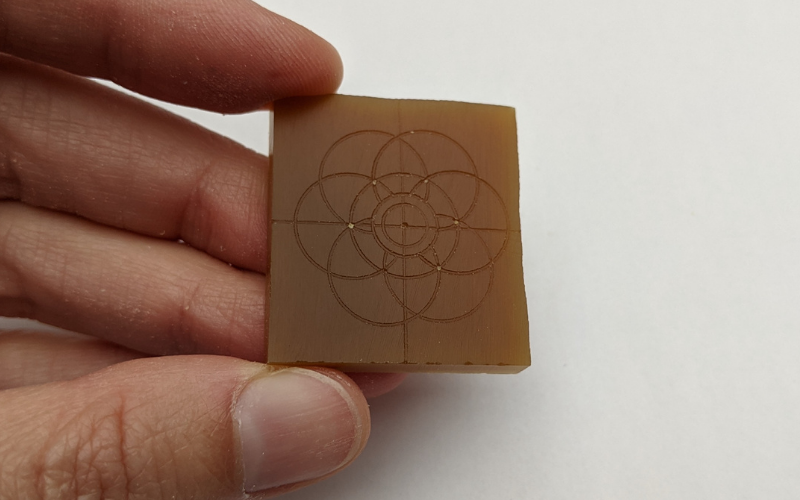
Stanley knife
A stanley knife works great. You can remove thin slivers and cut out small sections.
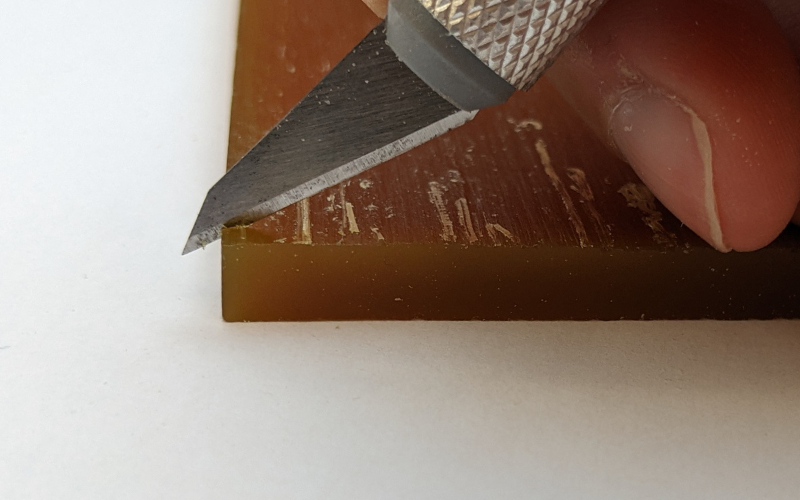
The knife only cuts where you want it to and then stops.

You can barely see the cut.
Verdict
Wolf gold wax is great to work with. The big stuff still takes a bit of time. But once you get to the fun part of wax carving, it’s an absolute dream to work with.
Comment below and tell me your experience working with Wolf gold wax!