
Some beads deserve to be showcased. When you have a bead like that, you can carve a bead cap for it. This class is perfect if you like to make something to enhance your beads. You learn how to incorporate beads in your design, how to make the bead spin in your design, and how to make fun freeform bead caps.
Techniques covered
- Multiple ways of creating bead caps that fit your bead perfectly. Works on any bead shape
- Create a space for a bead to move
- File a crown
- Pierce pear shapes
- Pierce and size a ring blank
- Perfect way to reuse your scraps!
- Have fun! Experimentation is needed here :)

Tools and materials
- Flat ring wax with centre hole
- Wax slices
- Beads
- Saw + sawblades
- Hand files + needle files
- Wax ring sizer + ring stick
- Callipers
- Dividers + ruler + scribe + permanent marker
- Carving tools
- Wax pen
- Micro motor/foredom and ball burrs (different sizes)
- Tea light and glass/mug

What’s included
- 53 page PDF with photos and written instructions. You can download the PDF for easier access.
- 4 instructional videos, around 90 minutes total
- Opportunity to ask questions
- Lifetime access to all the material

Sound good? Then don't wait and

Tutor
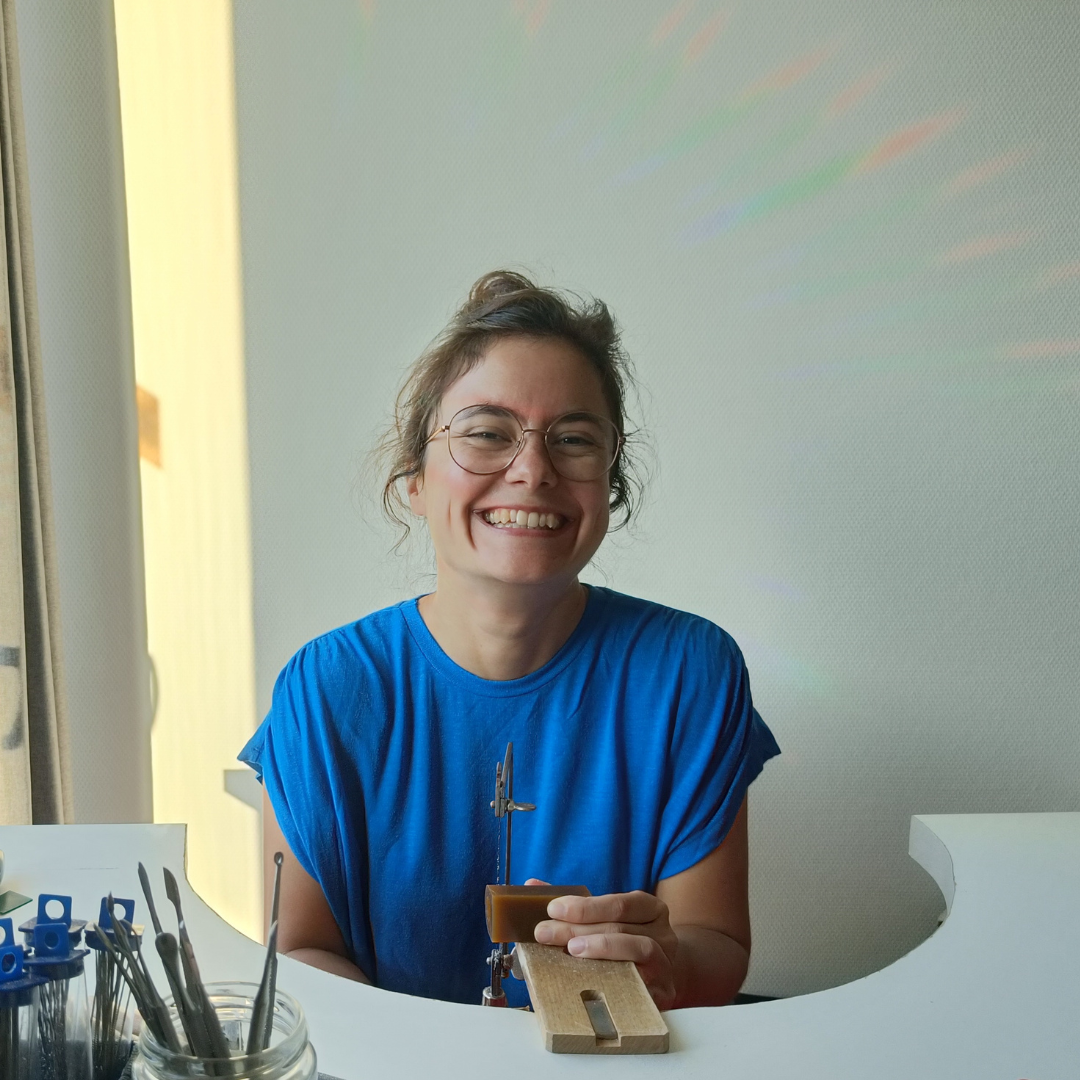
Hi I’m Sandy. I learned jewellery making, including wax carving, at the School of Jewellery in Dublin. After finishing my course, I taught at the school for a year and I also taught a wax carving workshop at Lucy Walker Jewellery in Kuala Lumpur. After learning all the basics of wax carving, I practiced and experimented A LOT. Something didn’t work out the first time I tried it? No problem, just try again (and again and again…) until it does work! Practice really is the only way to get better at something :) I love wax carving and I’m excited to teach you!