
Do you love freeform rosecuts? They’re the perfect stone to carve big and unusual rings around. This class is perfect if you like carving one of a kind rings. You learn how to design the shape of your ring around the shape of your stone, carve a seat for your stones, and different ways of finishing a ring shank. This class doesn’t cover how to set stones, only how to make the settings. A basic knowledge on stone setting is helpful to make the most out of this class.
Techniques covered
- Pierce and size a ring blank
- Calculate wax thickness for setting wall height
- Cut a seat for the stone
- Clean up the inside of the setting
- File the setting wall
- Carve a split shank
- Carve a square ring
- Carve a diagonal ring band

Tools and materials
- Flat ring wax with centre hole
- Rosecut gemstones
- Saw + sawblades
- Hand files + needle files
- Wax ring sizer + ring stick
- Callipers
- Dividers + ruler + scribe + permanent marker
- Carving tools
- Stanley knife
- Beeswax
- Micro motor/foredom and ball burrs (different sizes)

What’s included
- 53 page PDF with photos and written instructions. You can download the PDF for easier access.
- 4 instructional videos, around 90 minutes total
- Opportunity to ask questions
- Lifetime access to all the material

Sound good? Then don't wait and

Tutor
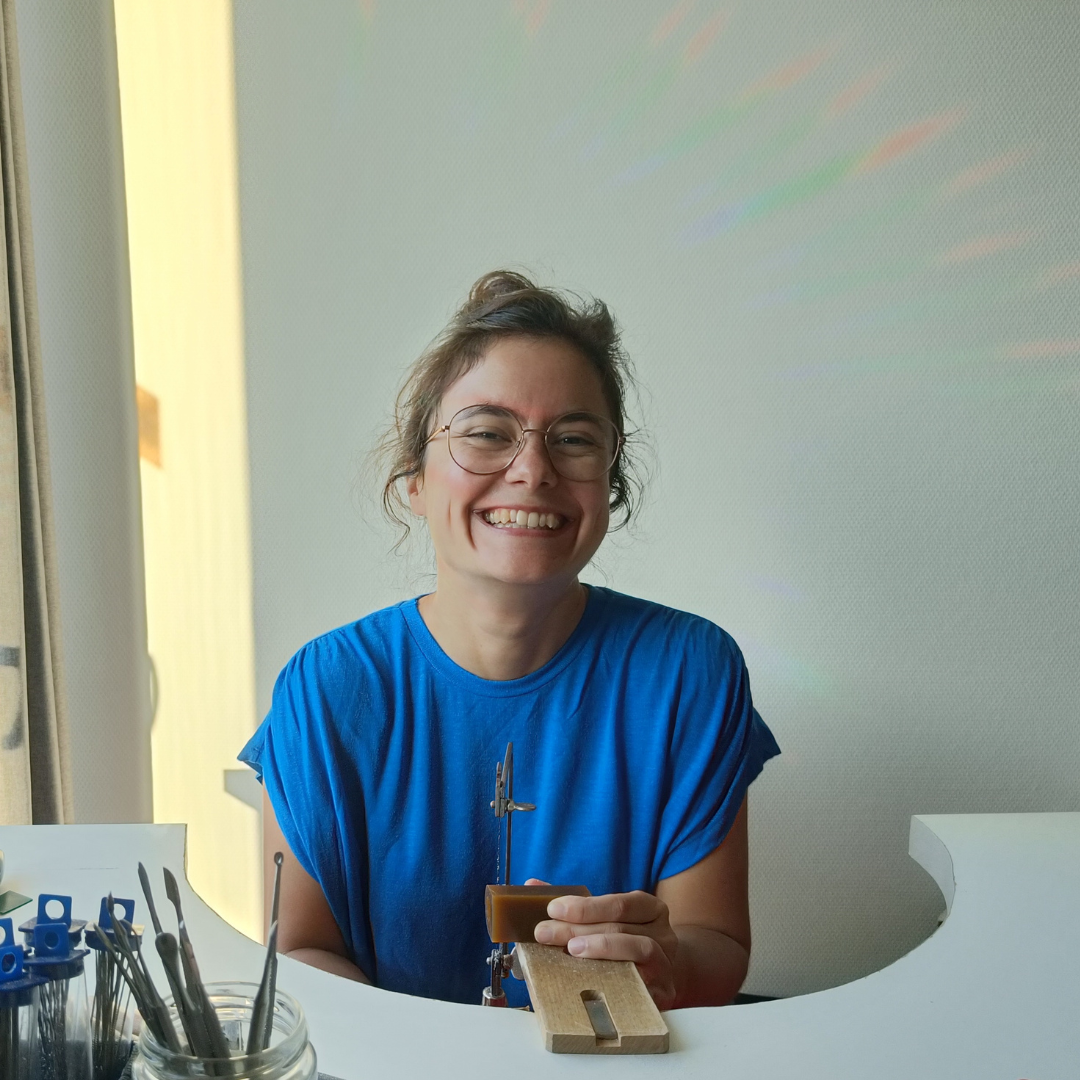
Hi I’m Sandy. I learned jewellery making, including wax carving, at the School of Jewellery in Dublin. After finishing my course, I taught at the school for a year and I also taught a wax carving workshop at Lucy Walker Jewellery in Kuala Lumpur. After learning all the basics of wax carving, I practiced and experimented A LOT. Something didn’t work out the first time I tried it? No problem, just try again (and again and again…) until it does work! Practice really is the only way to get better at something :) I love wax carving and I’m excited to teach you!